SensorTag to Blynk Using Node-RED
|
Node-RED provides an elegant solution to merge different IoT devices and services.
|
|
General Preparation
|
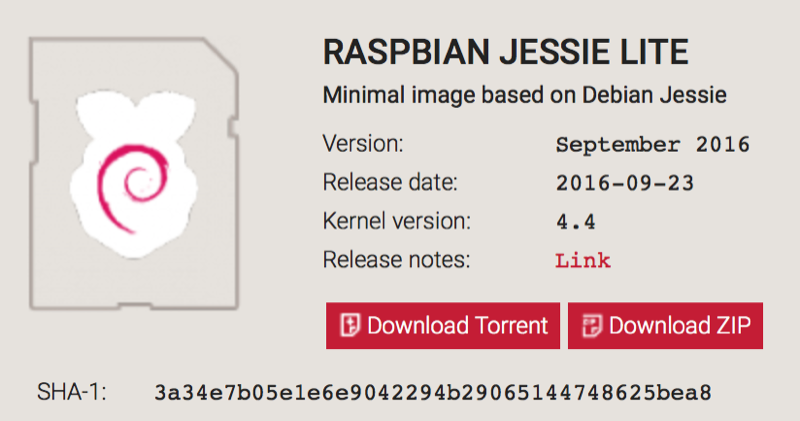
Download the Debian Jessie Lite image and prepare a microSD-card.
On macOS, I’m using ApplePi-Baker to prepare the microSD-card. |
|
|
|
|
|
|
|
|
|
Default password is raspberry. |
|
|
To proceed with the update and upgrade,
|
Code Editor
|
|
To set the timezone,
|
|
|
|
Install RedBear IoT pHAT
If the answer is IoT pHAT w/eep_v0.3, the board is ready. Proceed to next section. Otherwise, the EEPROM needs to be updated. Just follow this procedure. |
|
|
To confiture WiFi,
|
|
|
|
|
|
Default password is raspberry. |
|
|
To check Bluetooth is running,
|
|
|
To scan Bluetooth devices,
|
|
|
The SensorTag Node-RED requires Bluetooth, as well as an Ethernet over USB connection or a WiFi connection
|
Install node, npm and Node-RED
|
|
|
|
|
|
|
|
|
|
|
|
Install Additional Nodes
|
There are two releases for the SensorTag, node-red-contrib-sensortag and node-red-node-sensortag. I managed to get the first one to work.
|
|
|
|
|
|
Launch the Blynk App
|
On the iOS- or Android-based phone or tablet,
|
|
|
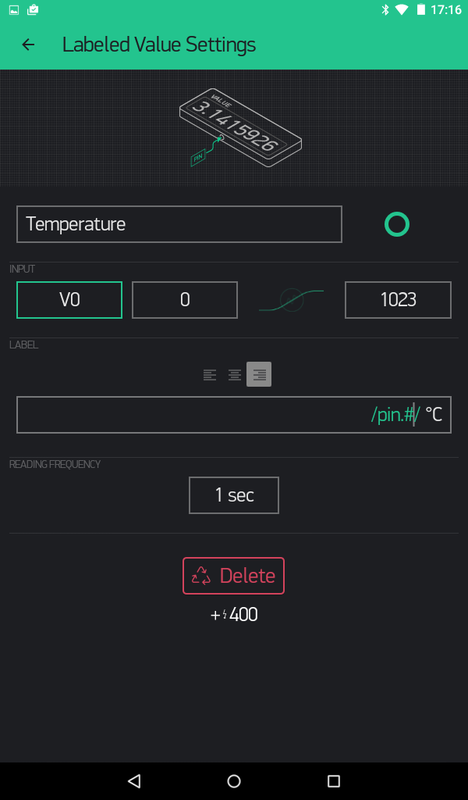
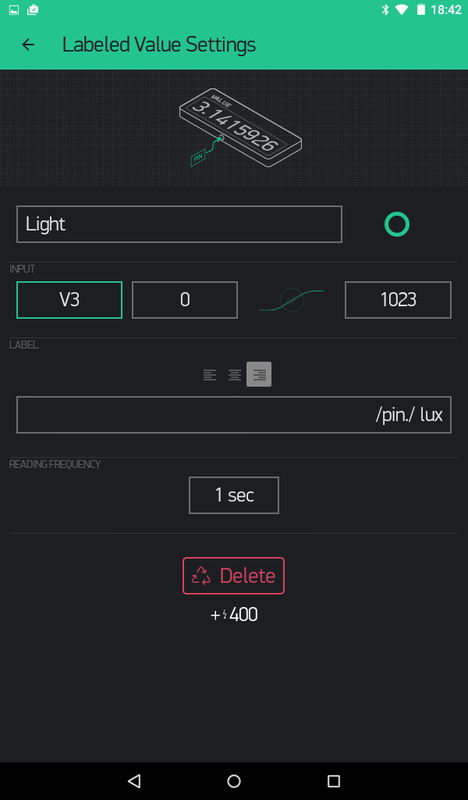
For each measure, add a widget.
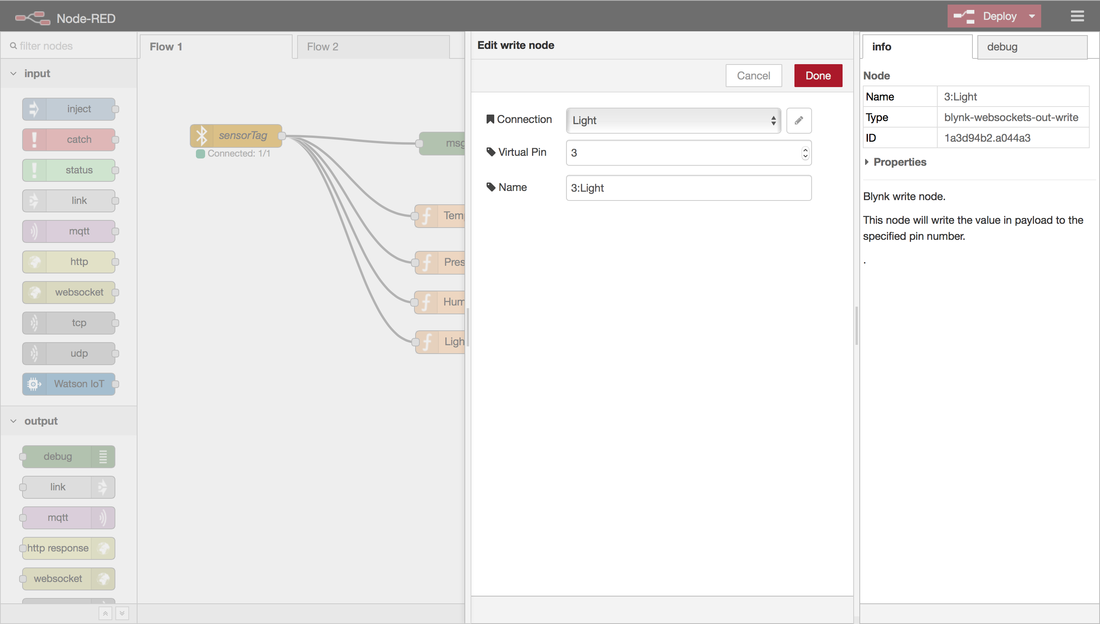
On the right, temperature is defined on virtual pin V0, and light on virtual pin V3. |
|
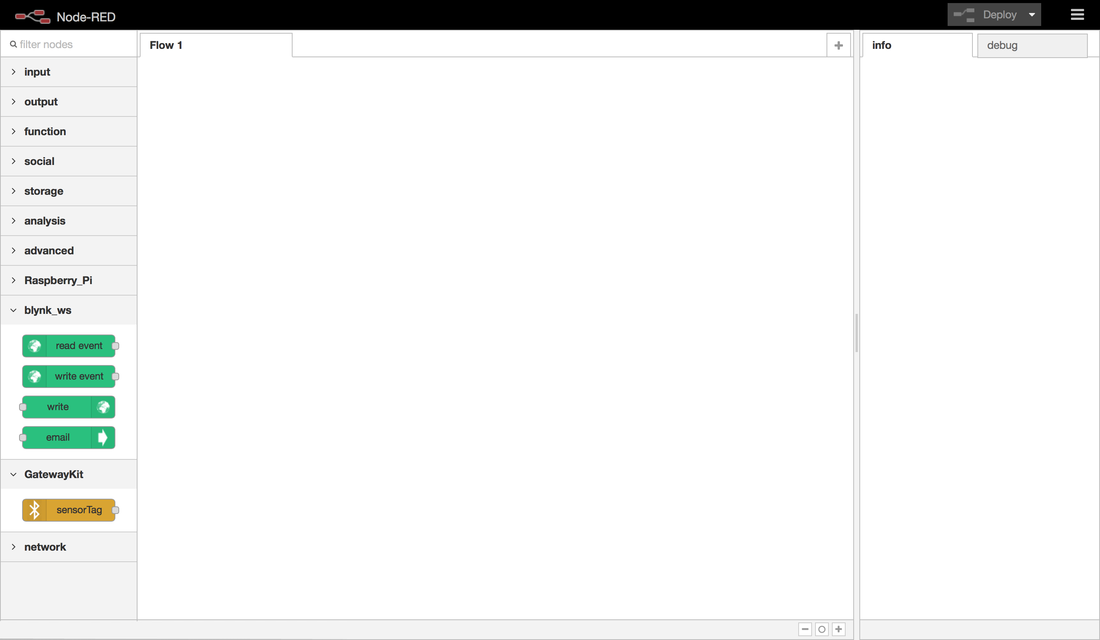
Develop the Node-RED Flow
|
|
Click to enlarge. |
|
|
|
|
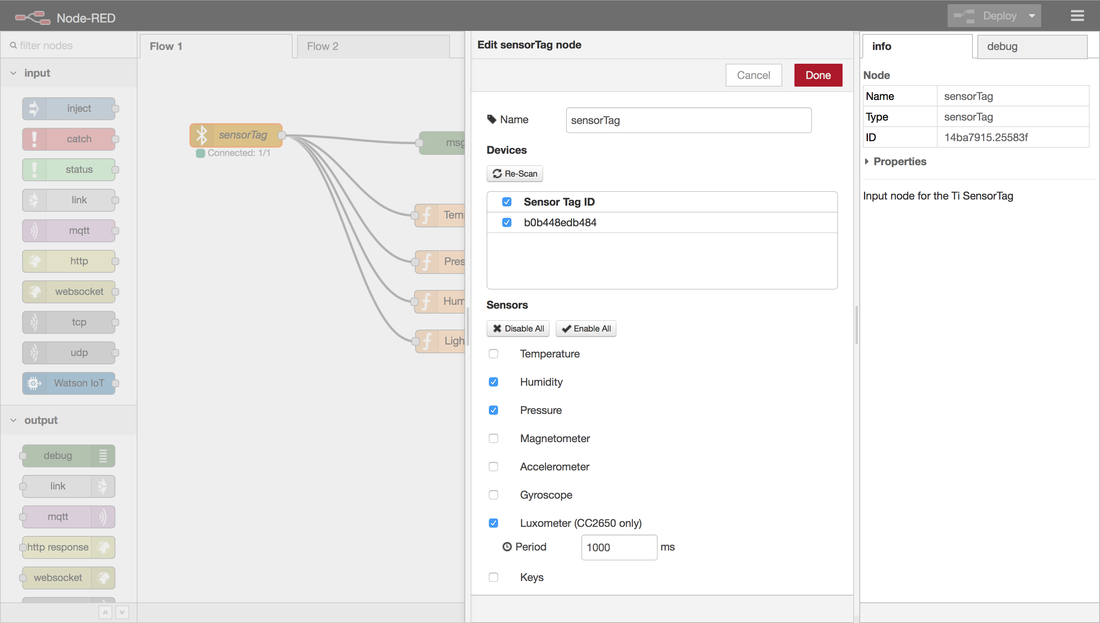
If connection doesn't work,
On the SensorTag node,
|
|
|

|
|
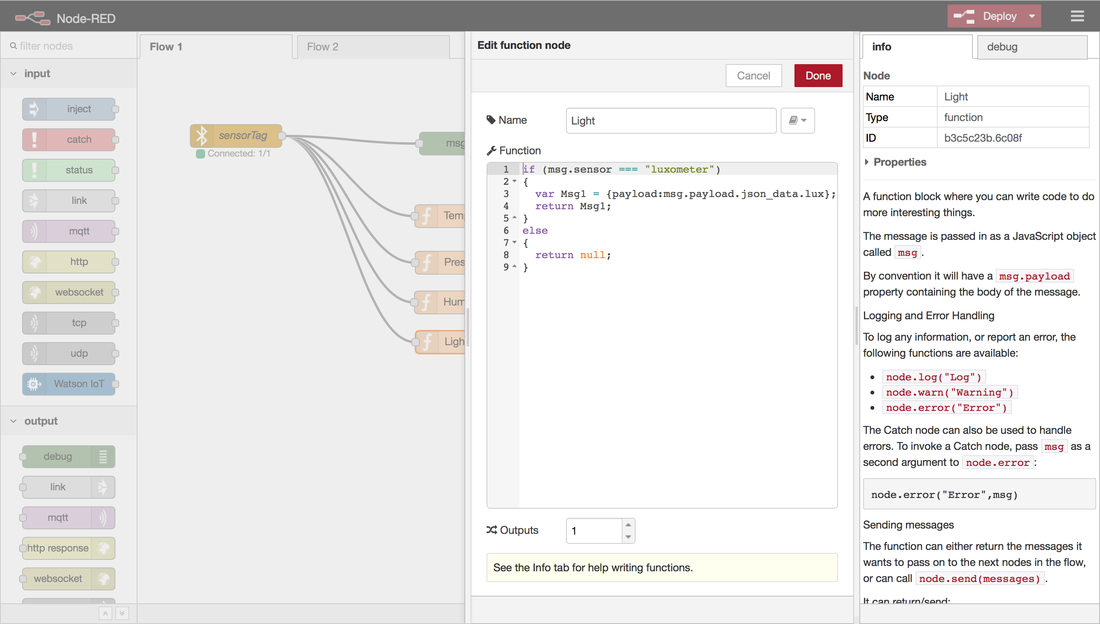
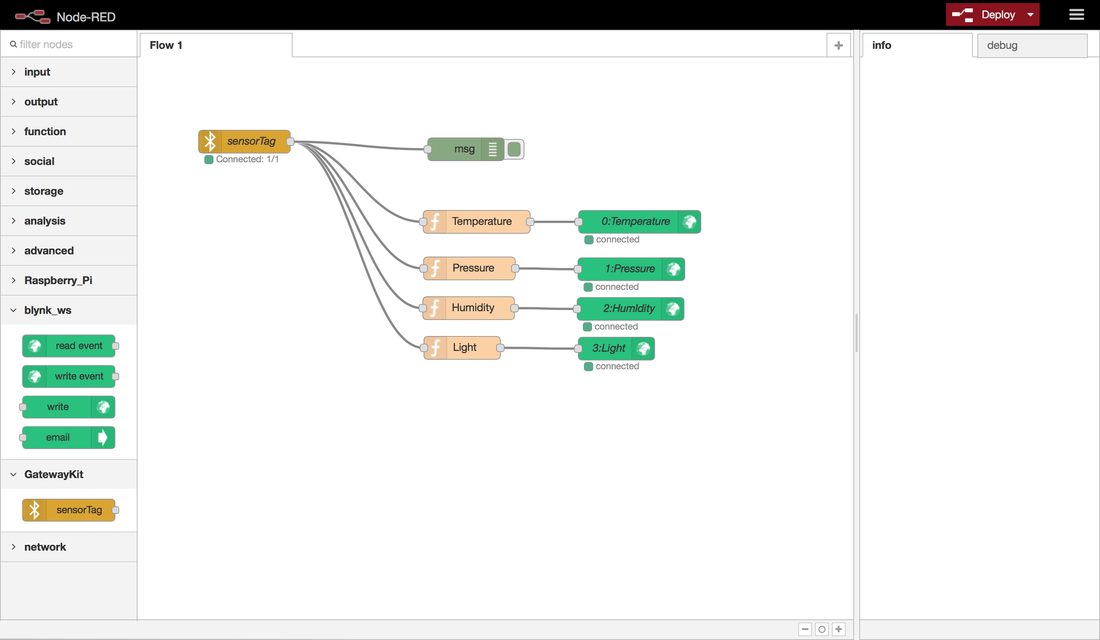
The SensorTag outputs |
|
|
|
For example, the criteria for light is "luxometer" and the field payload:msg.payload.json_data.lux. |
|
|
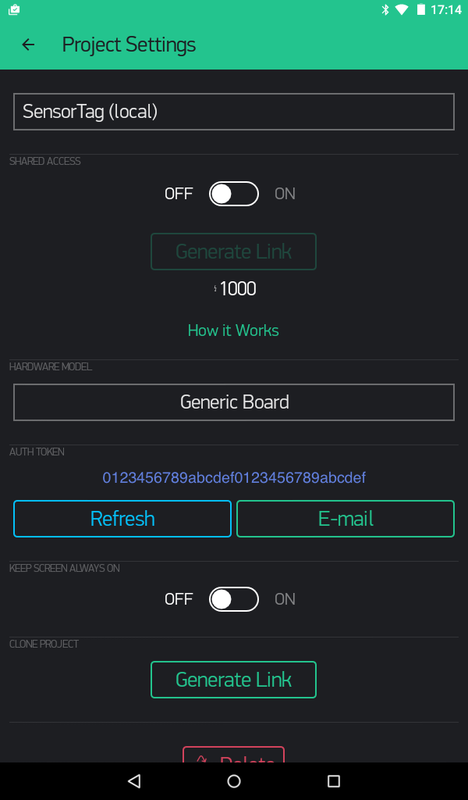
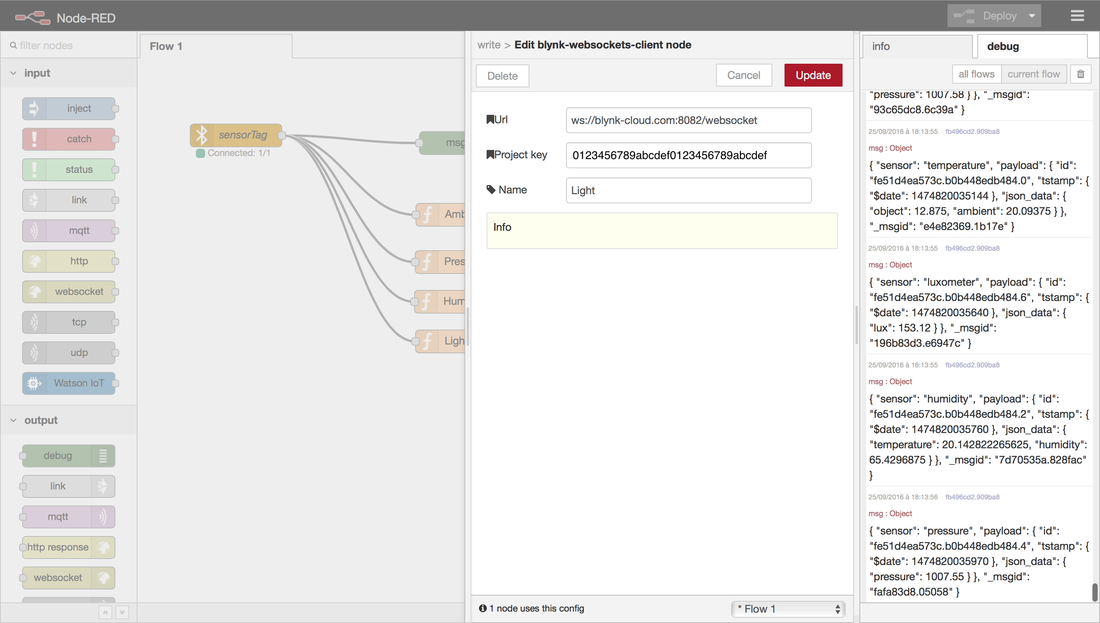
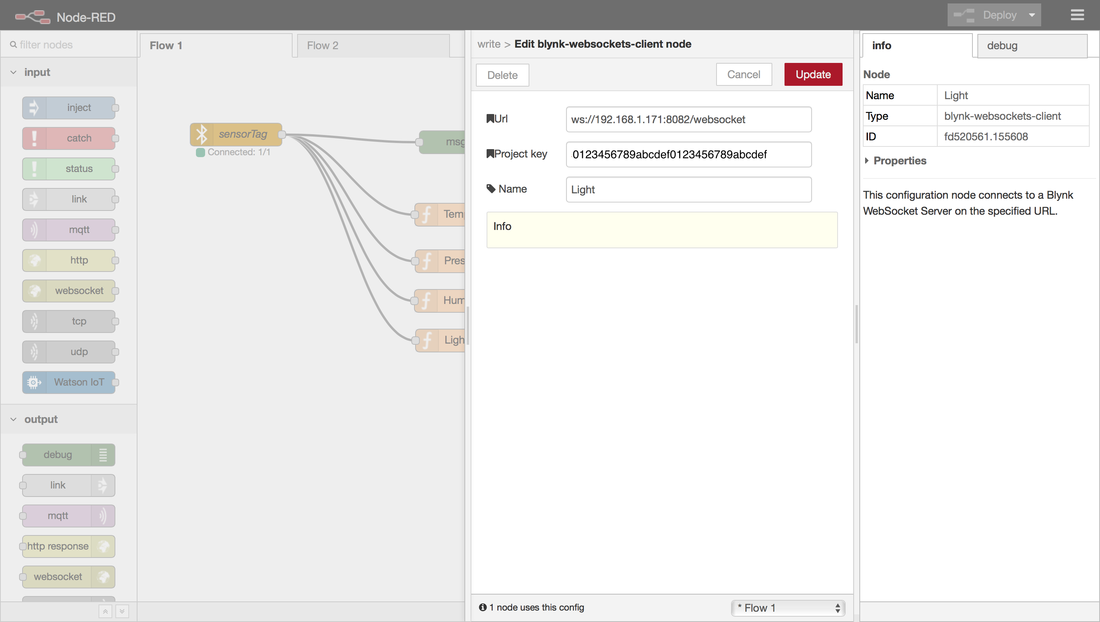
On the Node-RED GUI,
The project key is the auth token sent from the Blynk app. |
|
|
The URL could be
|
|
|
|
|
The finalised flow looks like
|
|
|
|
|
|

